Learn how to make breadcrumbs at home in just a few easy steps! Use them in your favorite Italian recipes, baked dishes, or any recipe you like.

Making breadcrumbs at home has never been easier!
If you’ve been buying store-bought breadcrumbs for recipes, I’m here to convince you that making breadcrumbs yourself is worth the little bit of effort in every way.
I’ve been only using homemade breadcrumbs in recipes for years now, and believe me, it makes ALL the difference in texture and taste! Plus, you can use whatever bread you like and make it healthier or gluten-free if needed.
And it takes less than 30 minutes to make it all happen! Shall we?
What You Need
All you need is bread! See below for my favorite types to use.

Our Favorite Bread for Homemade Breadcrumbs
Healthy bread: my top choice is Ezekiel bread. I use it almost every time! It’s a grain-free bread that is hearty, healthy, and on the dryer side – making it perfect for breadcrumbs. I also use sourdough, Dave’s Killer grain bread, or any gluten-free bread.
Regular bread: you can also use any white bread such as sandwich bread, Italian loaves, or baguettes. And if the bread is stale, even better – you can use that too!
Step-by-Step Instructions
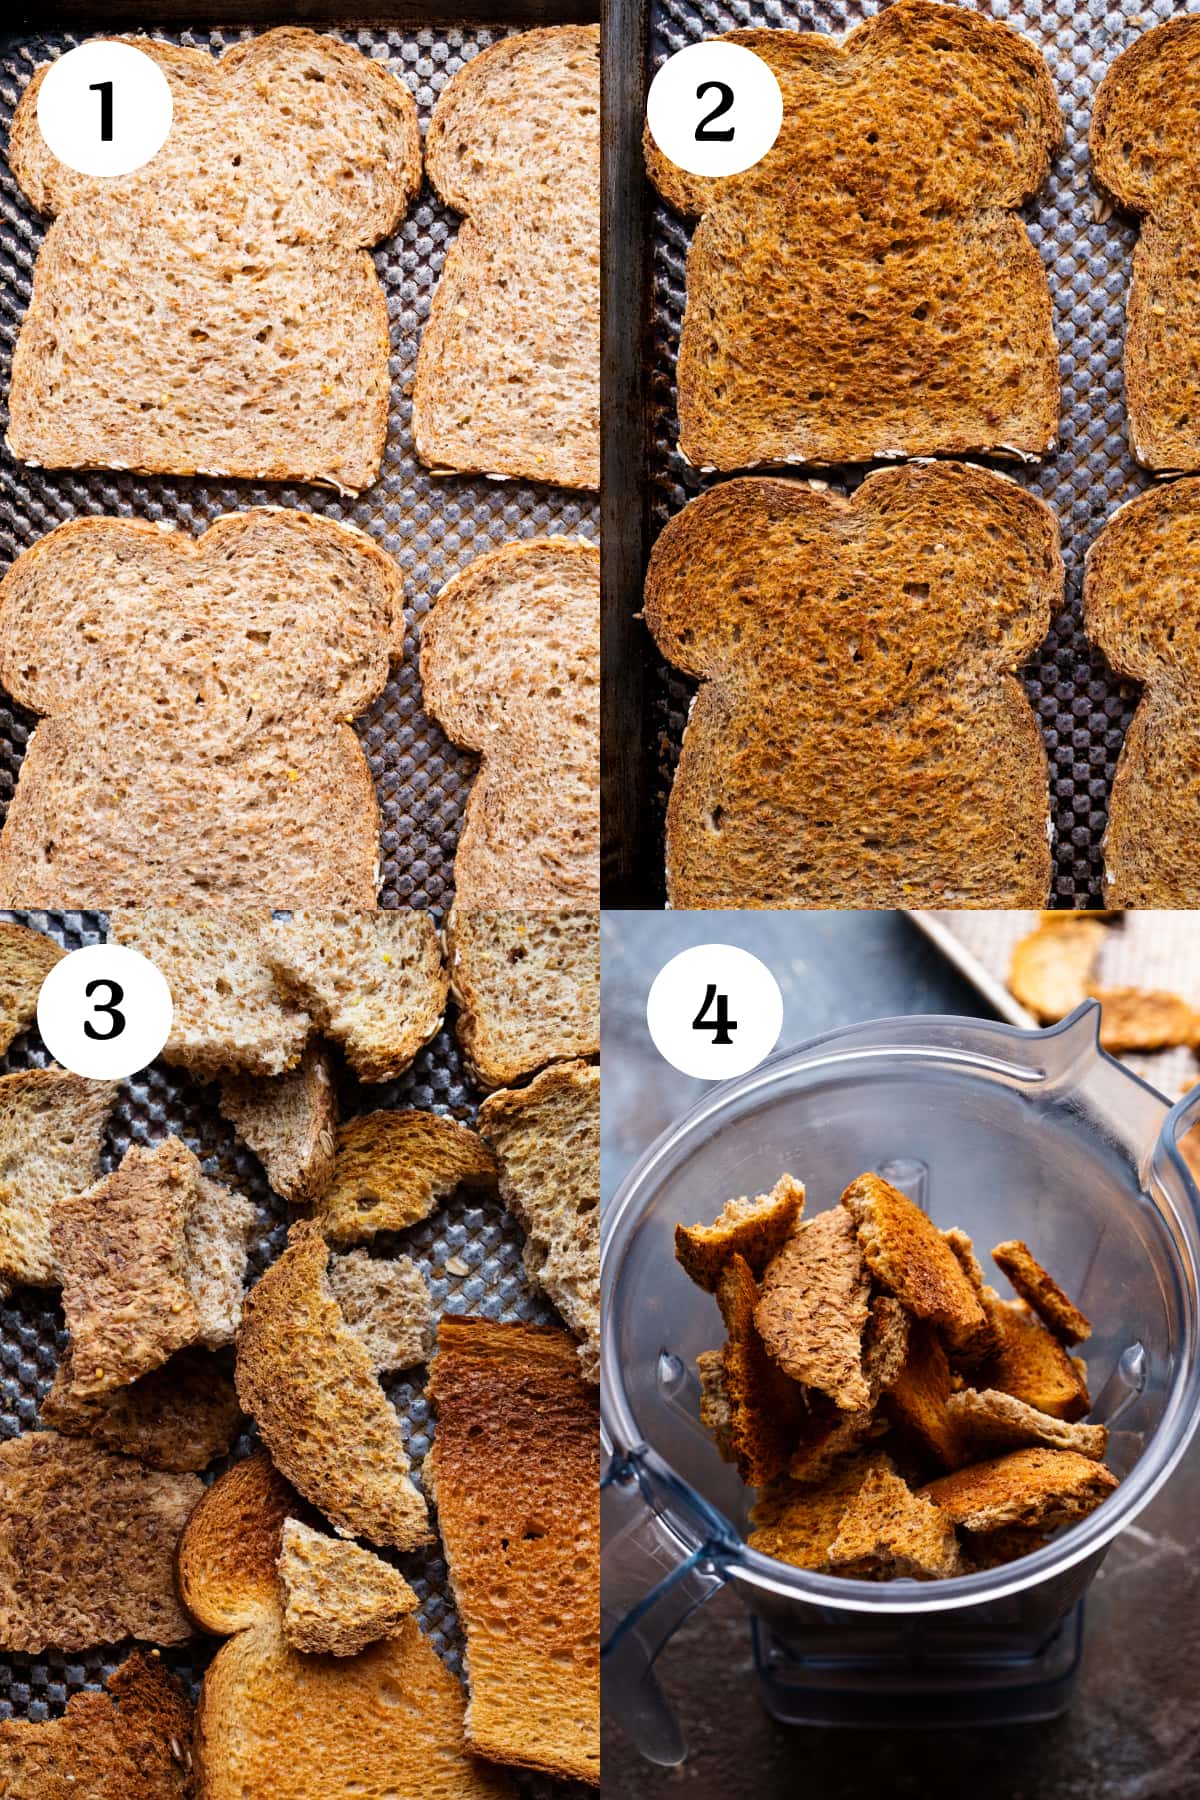
(Photos 1 & 2) – First, set the oven temperature to broil on LOW. Arrange bread slices on a sheet pan and toast for 3-5 minutes on one side, then flip and toast for an additional 3-5 minutes on the other side. Or until the toast is golden. Toasting times may vary as every oven cooks differently.

(Photo 3) – When the bread is toasted, remove from the oven and let them cool for 10 minutes. I like to break the toast into pieces to speed up the cooling process.
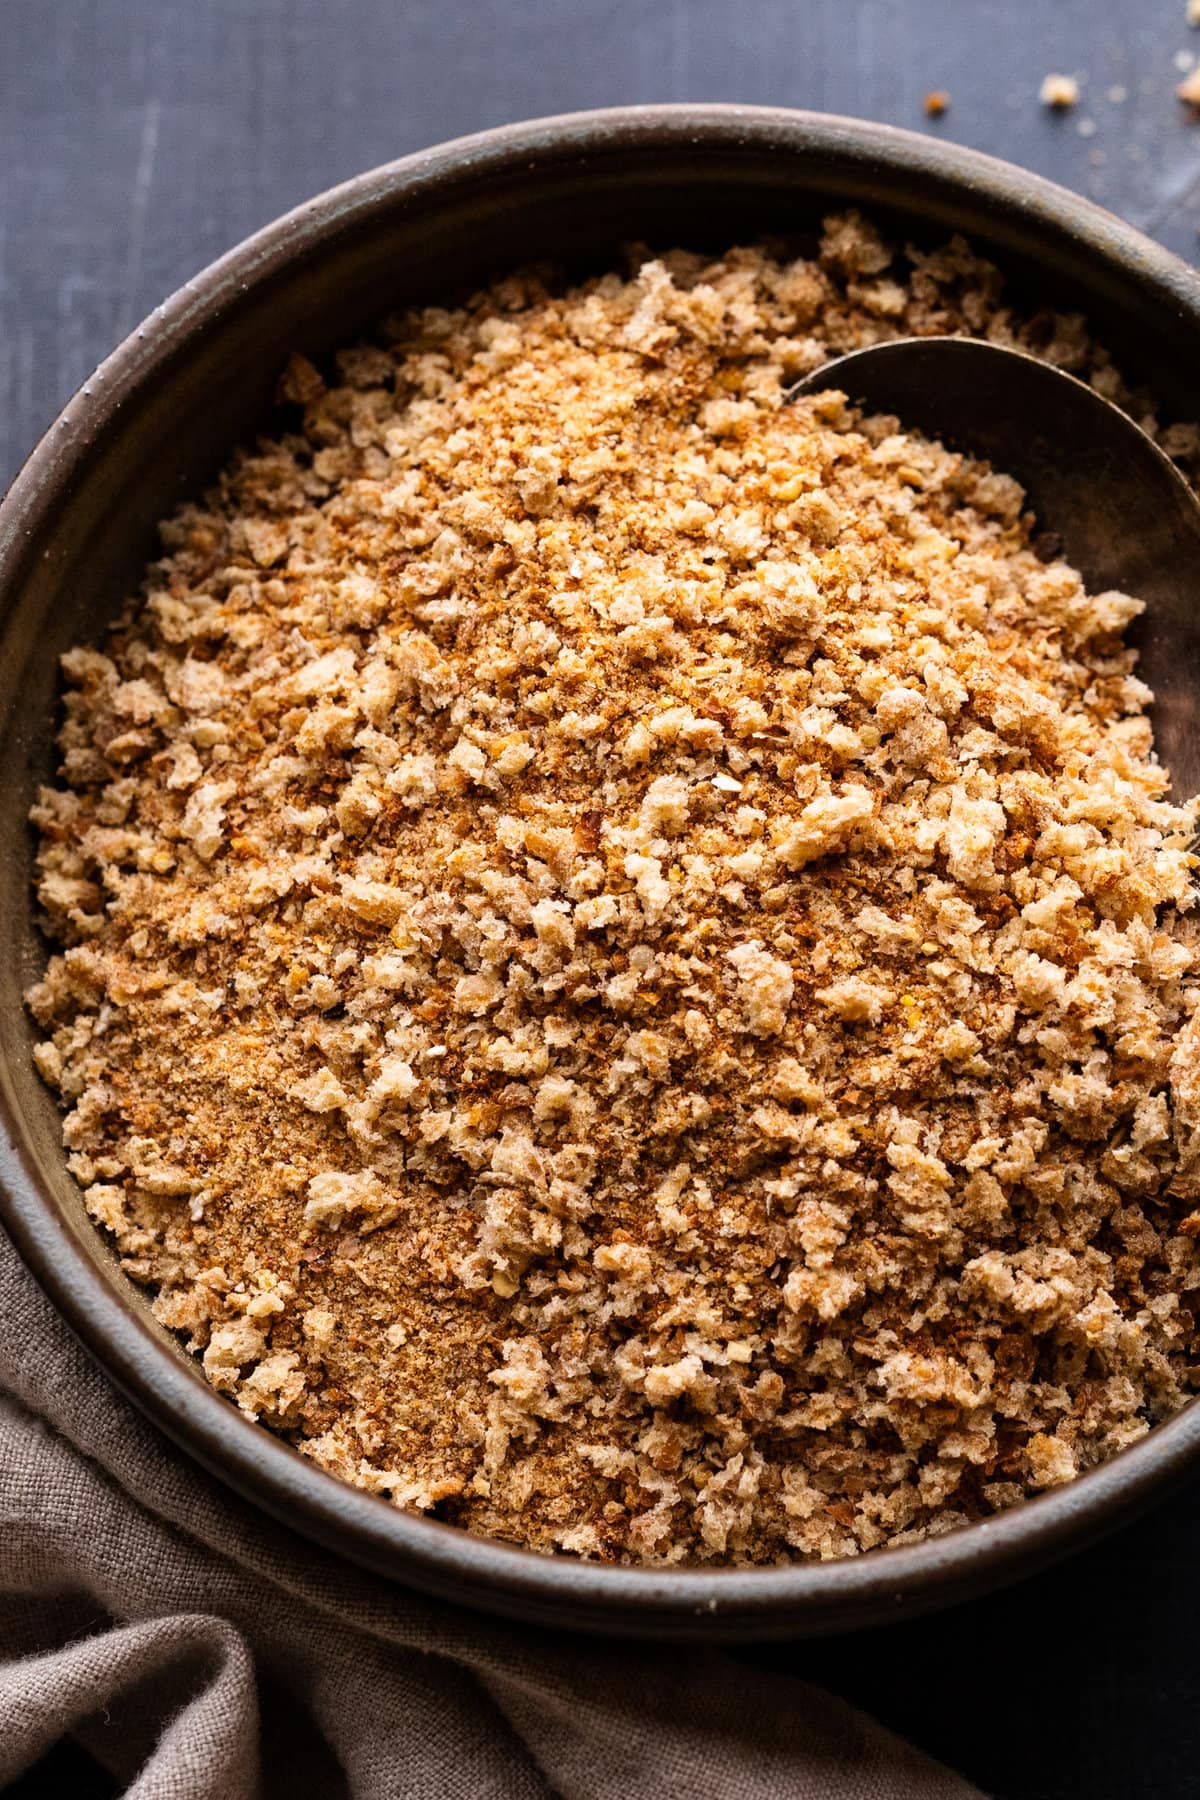
(Photo 4) – Then add the pieces in batches to a high-powered blender or food processor. Blend on high for 8-10 seconds to break up the large pieces, then pulse until the consistency is crumbs. Try not to over-pulse the bread or it will turn into a flour-like consistency.
Secrets to Perfect Breadcrumbs
Dry bread is best! Yes, you heard that right. The drier the bread the better! I have found using soft pillowy bread is harder to use for breadcrumbs. Because of the extra moisture, soft bread doesn’t dry out when toasted, so it’s harder to break down into pieces. You can use stale bread, Ezekial bread that is naturally a bit dry, or slowly toast the bread slices in the oven to really dry them out!
Don’t over-blend them – just a quick chop is all that’s needed! I usually chop the breadcrumbs for 8-10 seconds on high, then pulse as needed. If you break the breadcrumbs down too small it will be more of a flour consistency and less of a textured crumb!
Do it in small batches – only add a little bit at a time to blend, if you add too much you will have to blend the breadcrumbs too much – resulting in the flour-like consistency that we don’t want. Pulse the bread in small batches for the perfect texture.
The bread has to be completely cooled for it to work! This is key. If the bread slices haven’t cooled completely before blending, they will be too soft and won’t break down. The toast should be completely cooled for it to successfully turn to crumb!
What to use to chop the bread into crumbs – I’ve used both a high-powered blender and a food processor. Both work great!

How to Store Leftovers
Store in your pantry: My favorite way to store leftovers is in an airtight container or mason jar with a tight lid. Use within 2-3 weeks!
Freeze them: A great way to keep breadcrumbs stored longer is freezing them in a freezer-friendly bag. They should keep for 2-3 months!
Our Favorite Ways to Use Them
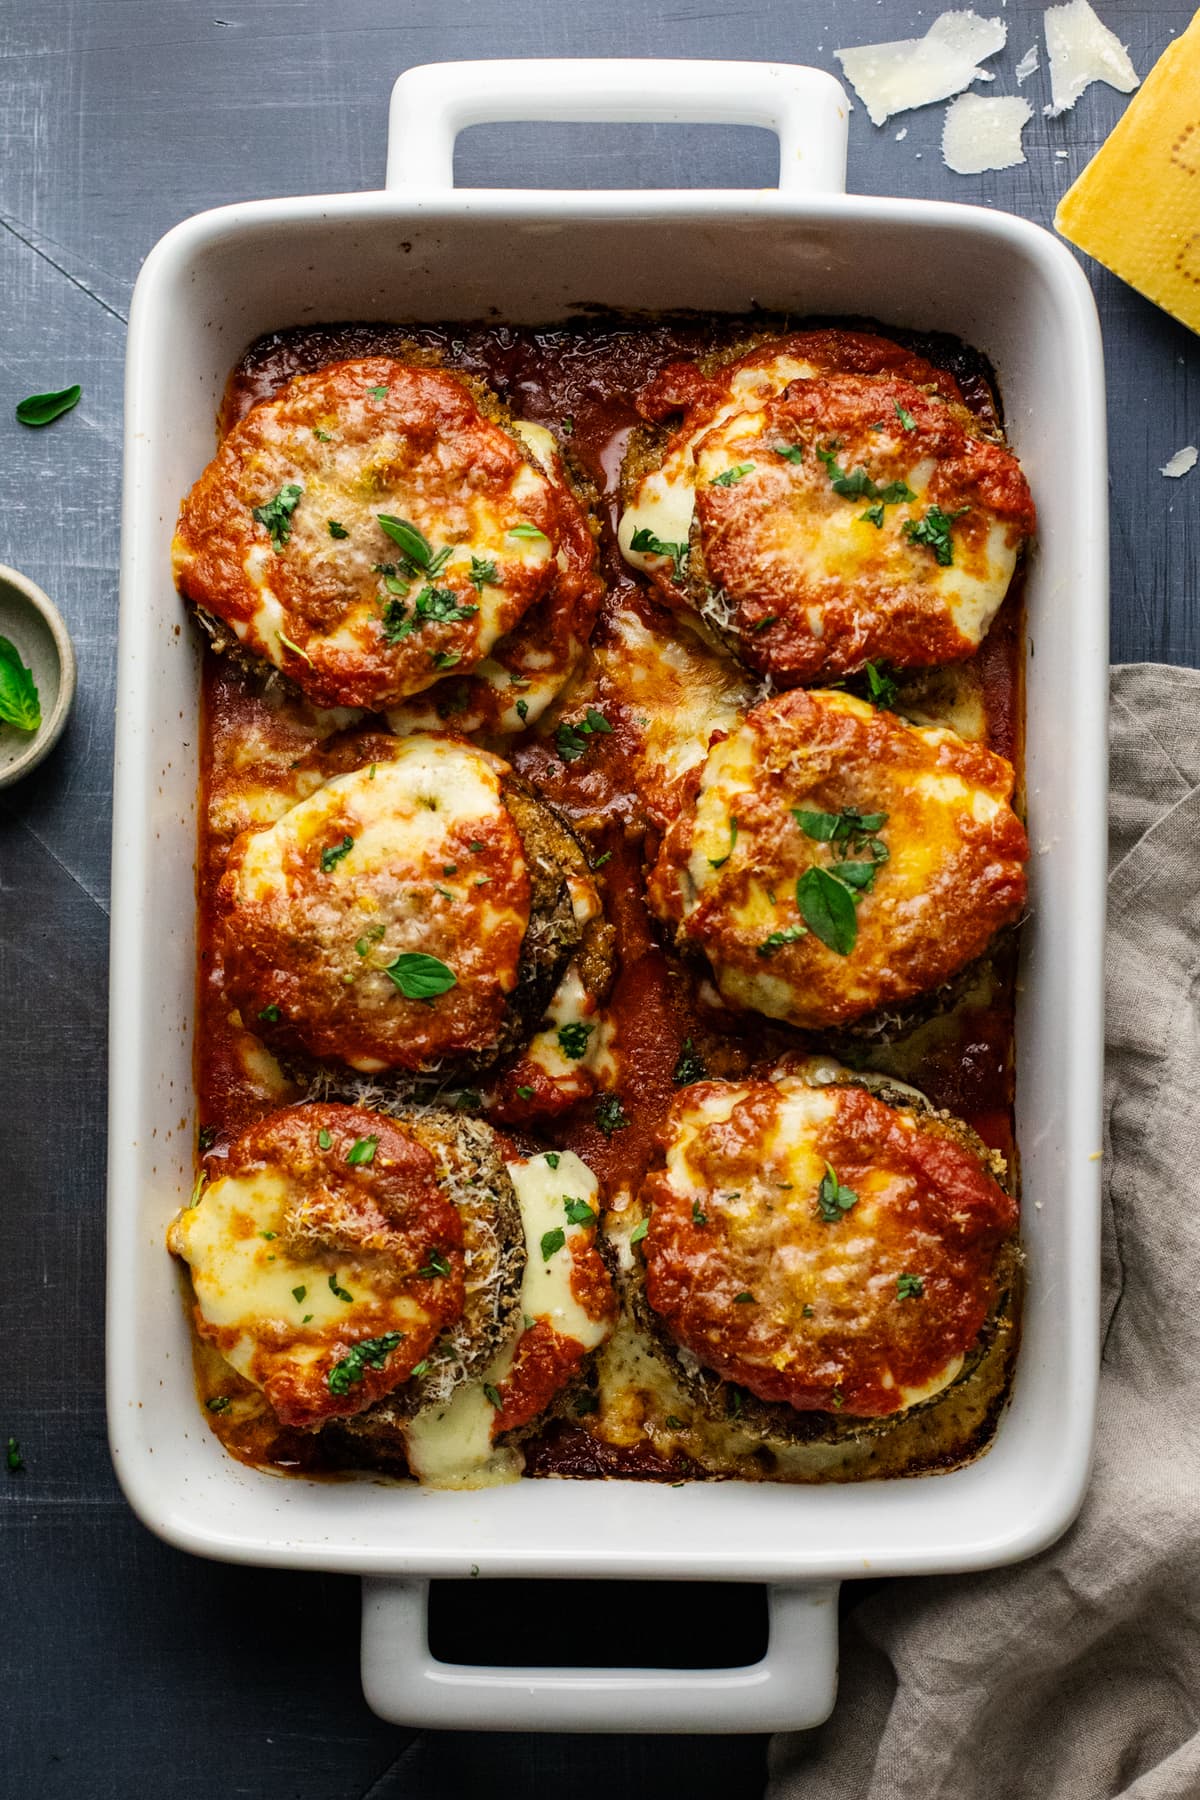
I use these breadcrumbs a lot in recipes! My favorite recipes to use them in are eggplant parmesan, chicken parmesan, eggplant meatballs, and zucchini meatballs.
How to Make Breadcrumbs
Ingredients
- 8 slices of bread (Yields about 2 cups of breadcrumbs depending on the size of bread you use)
Instructions
- Toast the bread: Set your oven to broil on LOW. Place the slices of bread on a sheet pan and toast for 3-5 minutes, then remove the pan and flip the bread slices. Toast for an additional 3-5 minutes, or until they are browned (but not burnt!). Toasting times may vary as every oven cooks differently. Note: You can also toast the bread slices in batches in a regular toaster.
- Let the toast cool: When both sides of the bread are evenly toasted, remove them from the oven and let cool completely (about 10 minutes). To speed this process up you can break the toast into smaller pieaces.
- Pulse into crumbs: In a food processor or high-powered blender, add a few slices at a time and blend for 8-10 seconds to break up the toast. Then pulse until it reaches a crumb consistency. Tip: try not to pulse too much or it will become more flour-like. Repeat this process until all the toast slices are used up. Use the breadcrumbs right away in recipes or preserve them for later!
Notes
My Italian Breadcrumb Recipe
- 1 1/2 cups breadcrumbs
- 1 teaspoon garlic powder
- 2 teaspoons dried Italian herb blend
- 1/2 teaspoon (each) of salt & black pepper


Very helpful!
So glad to hear it! Thank you, Alcione!
Breadcrumbs Aura good easy to do
Thank you, Brenda!