
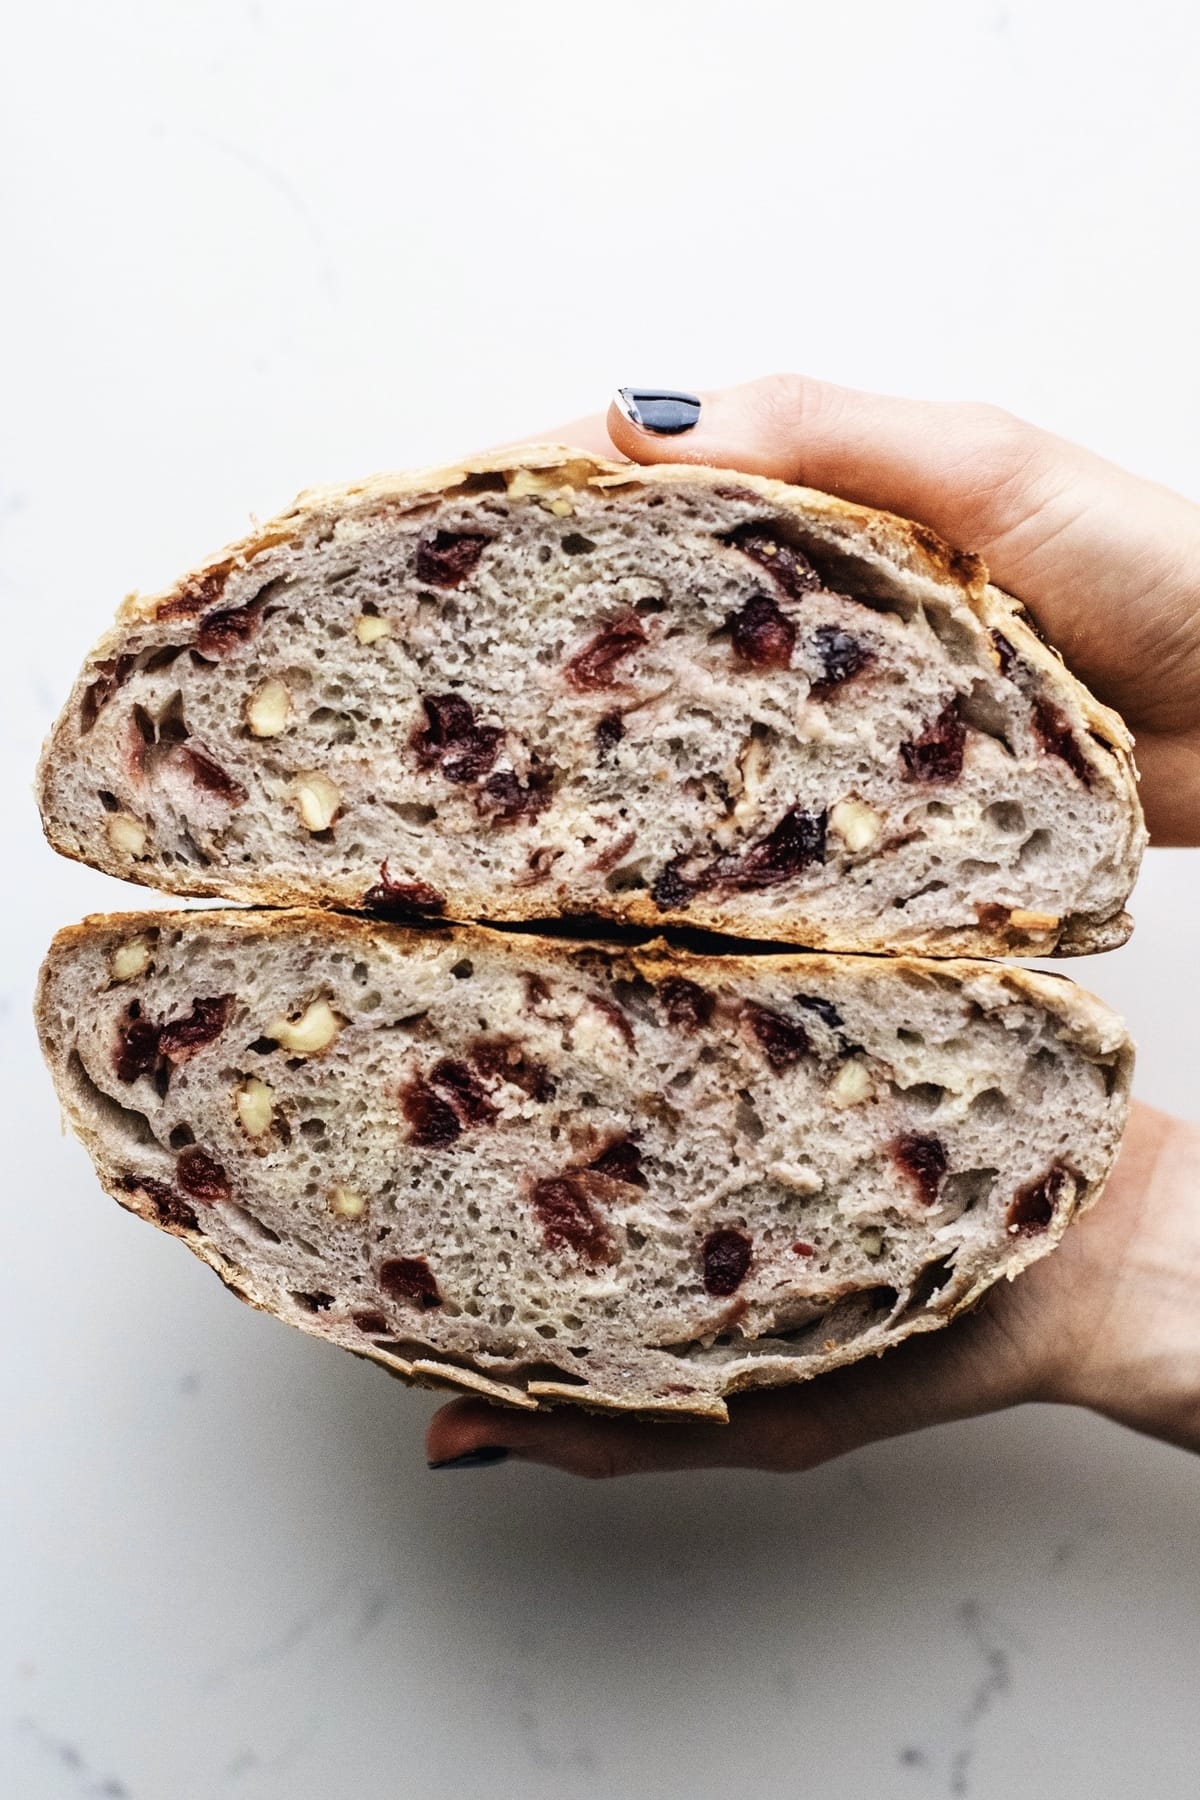
Homemade cranberry walnut bread with the crunchiest crust, doughy inside, and requires no kneading at all (hoorah!). A delicious bread to compliment any meal that is perfection when toasted!

Homemade bread is the perfect baking activity, and lucky for us, it’s quite easy to do (especially when no kneading is needed). You’ll love the flavor of this sweet and nutty bread! Allowing the dough to rise for a period of time is key to attain that PERFECT crusty top and doughy center.
We also bake this bread in a dutch oven to trap as much heat as possible. This is where that crusty texture is developed. It’s such an easy bread recipe! So if you’re new to baking bread, this is pretty much “fool proof”.
This specific recipe was inspired by our beloved dutch oven cinnamon raisin bread that so many readers have enjoyed! We hope you love this bread just as much. <3 Carb lovers unite.
Ingredients – What You’ll Need
- yeast: instant yeast or dry active both work in this recipe. Below we explain different steps you’ll need to take when using one or the other for homemade bread.
- flour: I used all purpose flour for this specific recipe.
- sugar: my favorite sugar to bake with is coconut sugar because it’s a natural unrefined sweetener. If you do not have access to this sugar you can swap for brown or white sugar.
- cranberries: I recommend unsweetened dried cranberries.
- walnuts: You can also swap for pecans too! But we love the crunch and thickness of walnuts better.
How to Make Cranberry Walnut Bread (no kneading required)
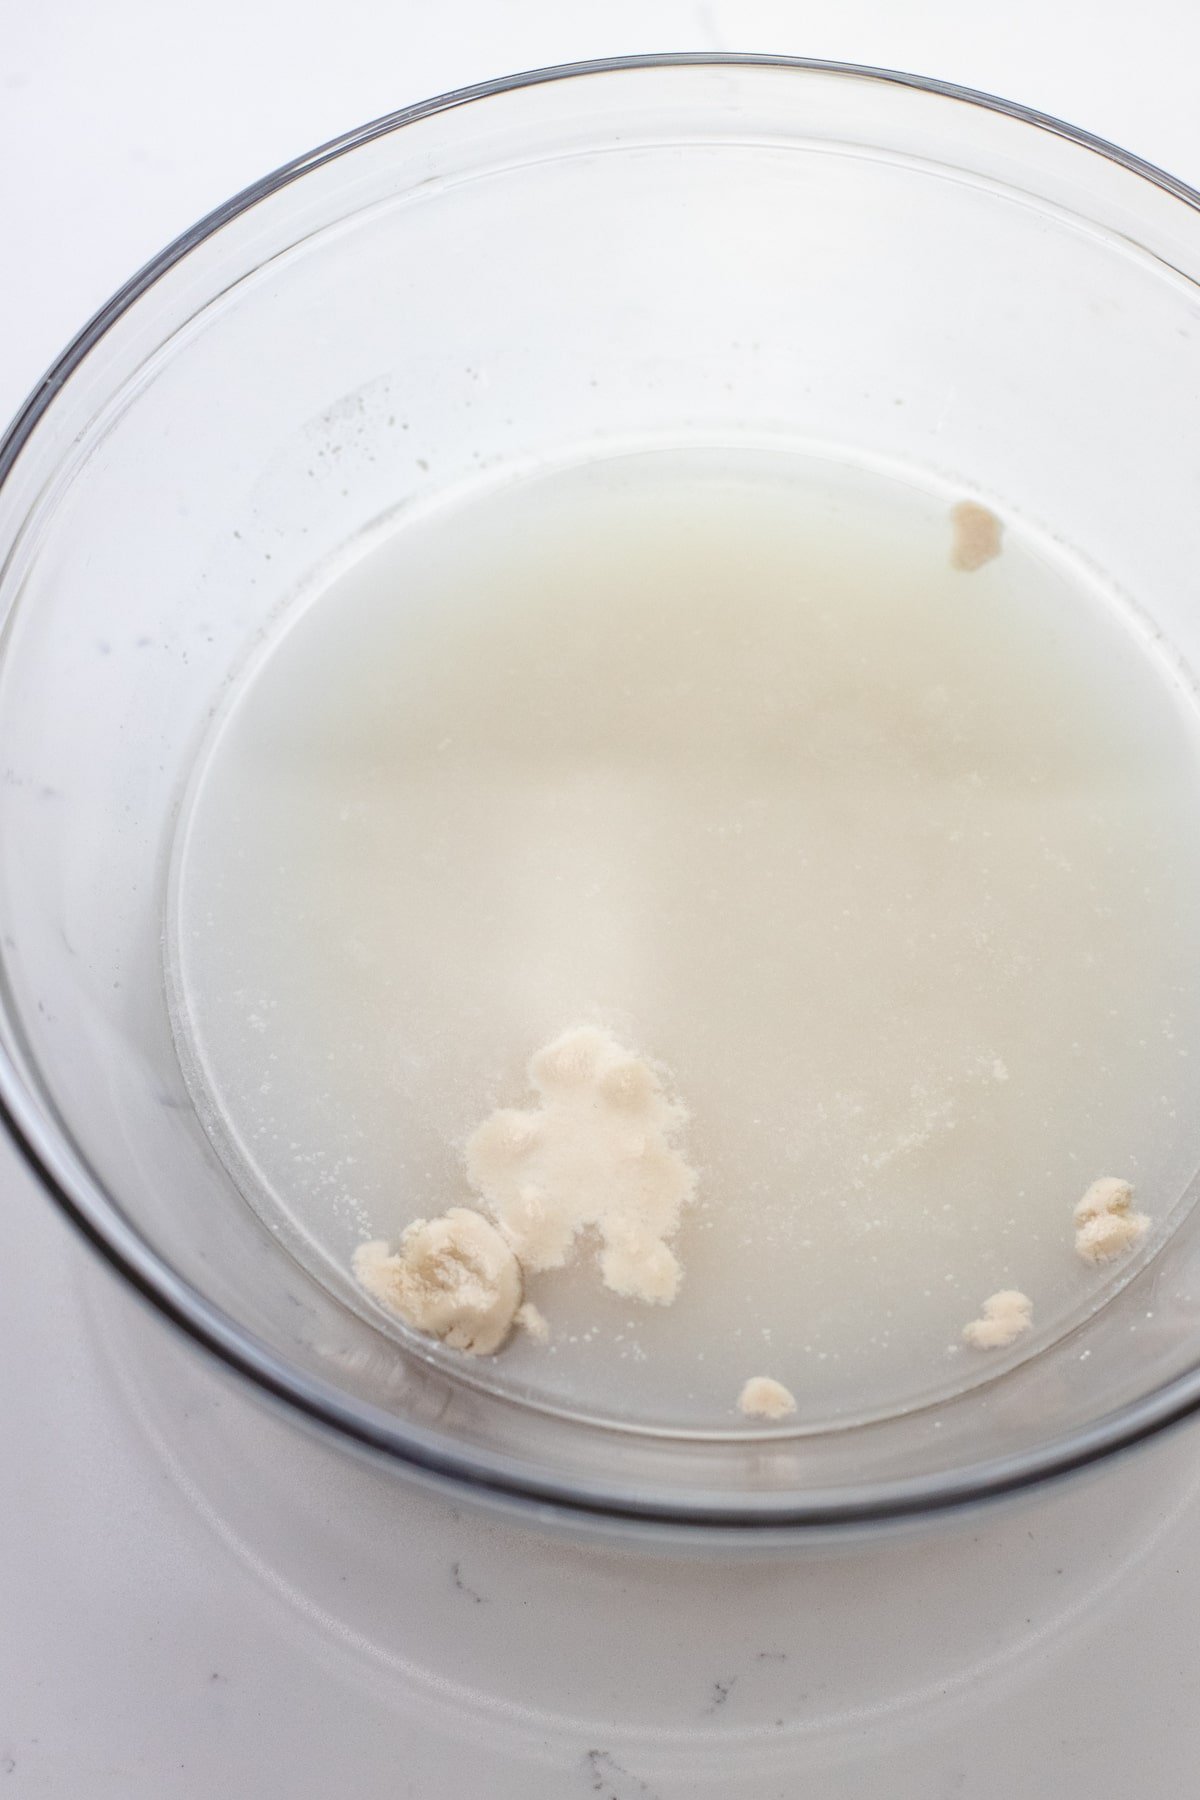
- activate the yeast with warm water (skip this step if using instant yeast).
- stir in rest of ingredients until combined. Dough should be slightly sticky but not too much.


- Don’t touch the dough too much, just roll it out from one bowl to a large greased bowl.
- Cover with plastic wrap and let dough rise for 10-12 hours.


- Use floured hands to form dough into a ball on a floured surface (try not to handle it too much). I like to tuck the peaces underneath the bottom until the top smooths out a bit.
- Line dutch oven or pot with parchment paper and place dough in center – sprinkle bottom of paper with flour so bread doesn’t stick. Cover and bake for 30 minutes, then remove lid and bake for 10 minutes uncovered until golden brown.
Using Different Types of Yeast
Active dry yeast: You’ll need to take different steps when baking bread with different yeasts. If you have active dry yeast on hand, you will need to activate it in water before adding flour (this step is included in the instructions).
Instant yeast: If you have instant yeast, you can skip dissolving it in water and stir it into your dry ingredients before adding water. Instant yeast has super small granules compared to active dry yeast so it does not need to be activated in water first.
Tips for Bread Making
Every oven is different: keep this in mind when baking bread. Some ovens can get much hotter than others and cause the bake to happen much faster. Check on the color of your bread in the last 15 minutes – pull when it’s golden brown on top.
Flour the bottom of the parchment paper: Don’t forget after lining the pot with parchment paper to sprinkle a little flour on the bottom so the dough doesn’t stick.
Keep your proofing temperature consistent: when the dough is “proofing” or rising, make sure the temperature of the room is consistent. You don’t want it to be too hot or too cold. I like to put the dough in the oven (settings OFF) and place the oven light on. It’s a climate controlled area and the light creates a small amount of warmth that will encourage the dough to rise.
Why Using a Dutch Oven is Best
Dutch oven pots are made of heavy cast iron that radiate a lot more heat than a typical bread pan. It’s an excellent way to trap moisture with the bread and create a crunchy crust through the high heat!
Storing & Freezing Tips
Keep leftovers fresh by storing in a ziplock bag in refrigerator and heat in oven or toast when ready to enjoy.
Freeze bread by storing in a freezer-friendly bag for up to 2 months. Remove, thaw, and reheat at 350 until warm in oven.

Our Favorite Way to Serve It
This bread is beautiful served alongside any hearty meal or for soup dipping. We also love toasting it and spreading with butter and a drizzle of honey! So so good.
We hope you love this bread just as much as we do! The crust is so crispy, crunchy, with a beautiful doughy inside with all the best textures and sweet flavor.
Happy baking!

No Knead Cranberry Walnut Bread
Ingredients
- 3 1/4 cups (430 grams) all-purpose flour (plus more for handling)
- 1 1/2 cups (360 ml) warm water
- 1/2 teaspoon active dry yeast (see notes)
- 2 Tablespoon sugar (coconut sugar or brown sugar)
- 1 teaspoon salt
- 1/2 (heaping) cup dried cranberries
- 1/2 (heaping) cup walnuts (chopped)
Instructions
- Activate yeast: in a large bowl, mix together warm water (110F) with sugar and yeast. Let sit for 10 minutes. Note: sugar feeds yeast so it is great to include in this step.
- Mix rest of ingredients: add to yeast mixture – flour, salt, dried cranberries, and walnuts. Mix until ingredients have fully combined.
- Let dough rise: Lightly grease a separate bowl. Transfer dough into greased bowl, cover with plastic wrap and let rise for 10+ hours. Tip: it's best to keep dough in a temperature controlled environment that isn't too warm or too cold.
- Preheat oven to 450F.
- Form dough: Lightly dust hands with flour and place dough onto a lightly floured surface. Without over-handling dough, form into ball – tuck edges underneath bottom to create a smooth top.
- Transfer dough: Line dutch oven with sheet of parchment paper. Lightly dust the bottom of the paper with flour to prevent the dough from sticking. And carefully transfer dough to pot.
- Bake: Cover with lid and bake for 30 minutes then uncover and bake additional 10 minutes. Note: Every oven is different, keep an eye on the bread the last 10 minutes. When it's golden brown pull from oven.
- Let bread cool: Remove pot from oven, carefully use paper edges to lift the bread from the pot and let it cool for 20-30 minutes before slicing into.


I followed the recipe exactly. I didn’t have a 5-6 quart Dutch Oven. Mine was larger and it spread out a bit. Soft but baked in middle, and it was crunchy outside. I may try substituting in 1 c of whole wheat flour for additional texture and flavor, but it was great just as it is!
This is the best! I used 1/2 whole wheat and 1/2 spelt flour and added just a bit more water.
Thank you for such a yummy and easy recipe!!
How can I bake this without a Dutch oven pot
You could do a steam bake – place a dish of boiling water on the lower rack then bake the bread on a pan above it! The steam will help crisp the crust without a Dutch oven:)
I love your recipes! Also, thank you for having the “skip to recipe” option.
Of course! 🙂 Thanks, Tommie.